The Saga of the Red Wall
- Chris Taylor

- Oct 11, 2023
- 2 min read
Updated: Oct 17, 2023
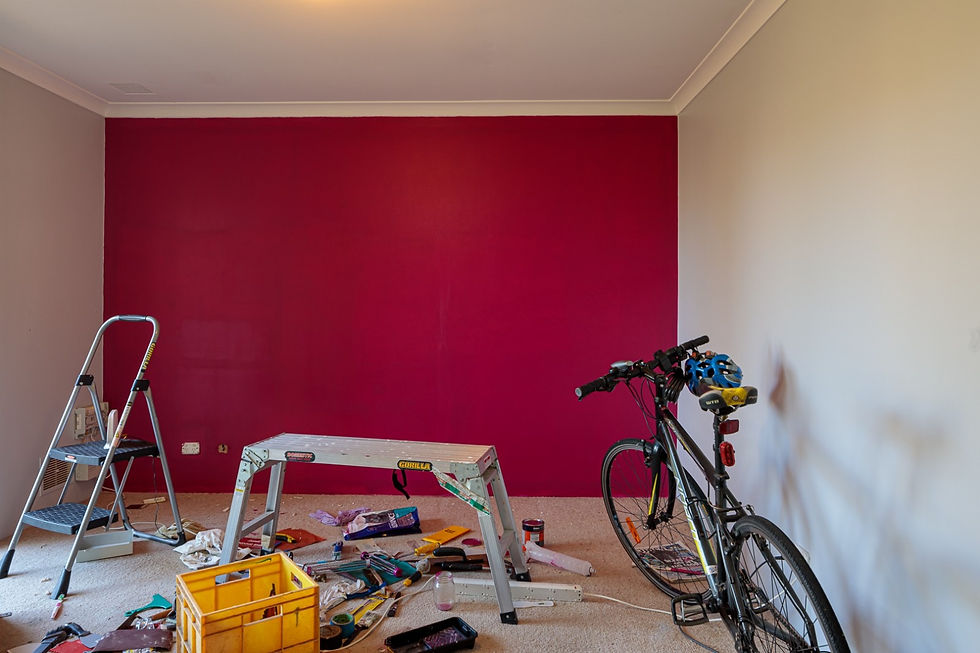
Dad and I have been painting the lounge room and found the grey walls to be very easy to paint. We decided to do a red feature wall, which was not so easy. As in, much, much harder.
We cleaned the wall, sanded then put the red paint on. With the hot weather drying the paint quickly, it was difficult to say the least.


This was the result after three full coats of red paint, as well as attempting to improve the coverage with a fourth coat of patches. So 3.5 coats of paint. And guess what happened when we removed the carpet? It took off a 0.5 m long chunk of paint, right back to plaster.
After some phone calls and online chats with Dulux, we found out we needed to strip the original paint off and apply sealer. After that, apply an undercoat. Then apply the red paint in 2 coats.
Unfortunately, Bunnings did not advise us of any of this when we first purchased the paint, so definitely do your research with the manufacturer. We followed Dulux's recommendations.
We filled along the ceiling edge using a curved silicone tool in an attempt to make the wall surface more flat. However, the curvature at the cornice only made it more difficult to use the paint roller, with much more touching up required. I recommend using a square edged scraper.
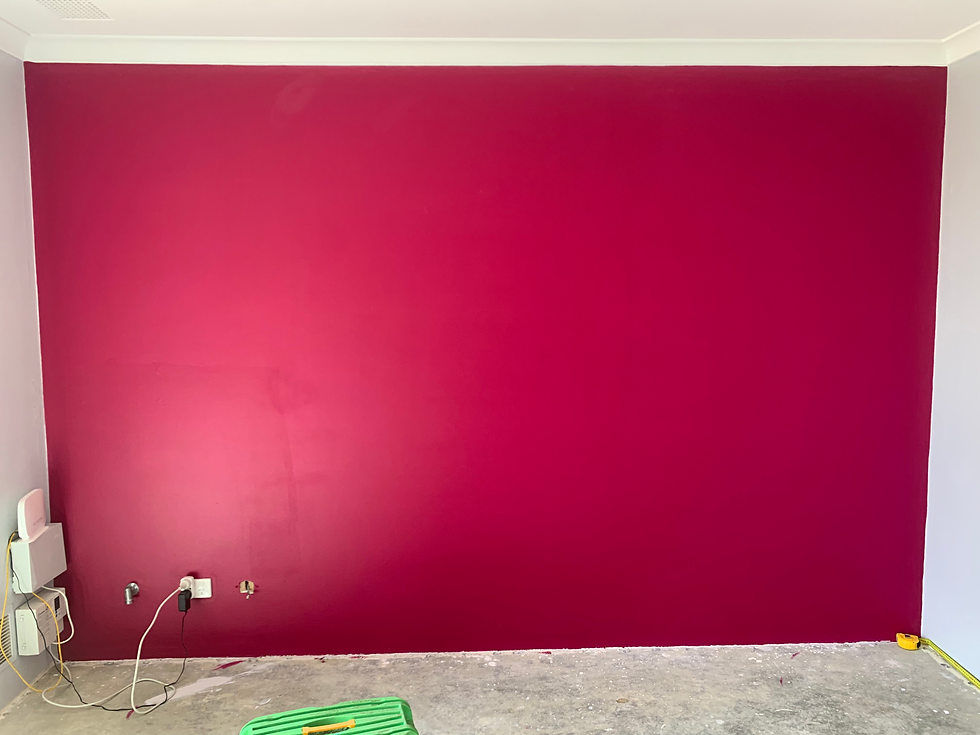
The result is stunning.

I applied in 1 square metre areas on a hot, windy day with the windows open (the paint stank). You can make out the joins between these areas under certain lighting conditions. Besides doing on a different day in cold, humid weather; or closing the windows, putting up with the fumes, turning on the air conditioner and using an air humidifier, I honestly don't think it could have been avoided.
Based on this experience, I made multiple edits to my original blog post on painting walls, which I marked clearly. Good luck with your red feature wall and don't make the same mistakes we did! 😅


Comments